Organize kitchen pantry efficiently: Our guide offers tips on purging, using organizers, and labeling to reclaim space.
Start by doing a full purge—remove everything and toss expired or unwanted items to reclaim up to 40% more space. Measure shelf dimensions before buying organizers. Group similar items into labeled zones like snacks or baking supplies. Use risers, Lazy Susans, and slide-out trays to maximize deep or awkward spaces. Choose stackable, clear, airtight containers for staples, limit styles to two per shelf, and label only what’s necessary using painter’s tape. Keep the system efficient with daily maintenance. You’ll discover how simple adjustments create lasting order.
Reset Your Pantry in 5 Steps
Want to make the most of your pantry space? Start by doing a full purge: remove all pantry items and spend 30 minutes discarding expired goods, tossing what you dislike, and donating unopened, edible surplus. This creates a clutter-free base for better organization. Don’t install new shelving or buy containers yet—first measure your pantry’s width, depth, and height to guide storage choices. Plan for zones later, but now focus on resetting. Consider decanting staples like flour or cereal into labeled containers, though it’s optional. Proper preparation ensures your future shelving and container systems support long-term efficiency in storage and access.
Group Like Items Into Easy-to-Find Zones
Why do grocery stores arrange items by category? Because grouping makes finding things faster and easier. You should do the same with your pantry. Use grouping to create clear Pantry zones—snacks, drinks, baking supplies—each in dedicated areas. Assign storage bins to define zones and boost space optimization. Do container planning first: measure your shelves’ width, depth, and height before buying. Labeling keeps zones clear. For deep shelves, use risers to improve access. Prioritize eye-level placement for frequently used items to avoid digging. Size zones by usage, keeping daily staples within easy reach. This smart layout reduces clutter and makes your pantry work better.
Use Risers, Lazy Susans, and Slide-Out Trays
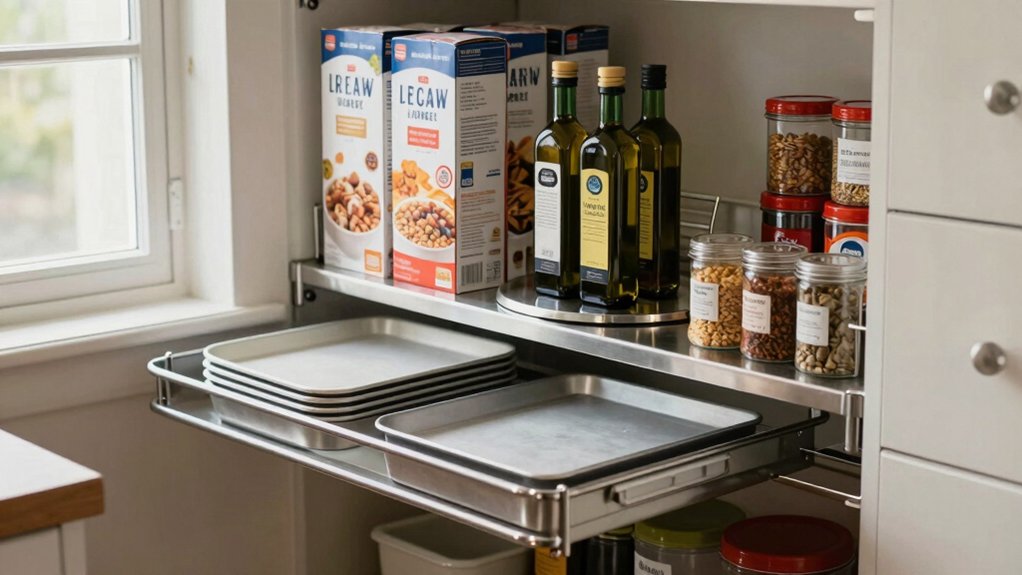
How do you make the most of vertical space while keeping items within reach? Use risers, lazy susans, and slide-out trays to maximize space and improve visibility in your pantry organization. Risers double shelf capacity by stacking shorter storage containers beneath taller ones, keeping labeling visible and items accessible. Place lightweight boxes low and heavy canisters up top for safer shelving. Lazy susans turn awkward corners into accessible zones, while slide-out trays reduce clutter and make deep shelves functional. These tools enhance user efficiency and optimize space usage.
| Tool | Benefit | Best For |
|---|---|---|
| Risers | Doubles vertical space | Canned goods, spice jars |
| Lazy Susans | 360° accessibility | Oils, sauces, snacks |
| Slide-out Trays | Full visibility & reach | Baking supplies, grains |
| Shelving + Labels | Easy identification | Daily-use pantry items |
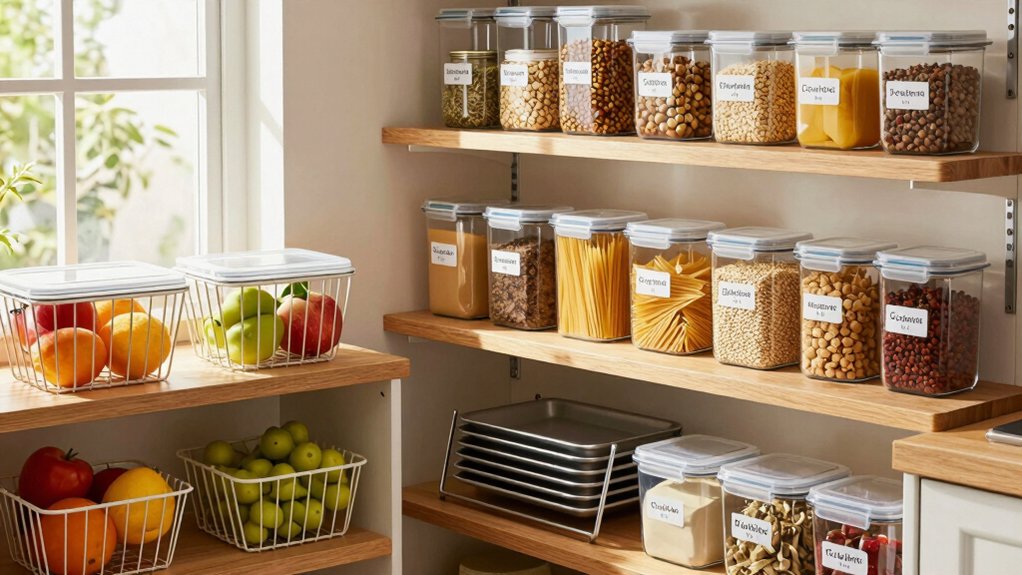
Pick Containers That Work for Your Pantry
Now that you’ve optimized your pantry’s layout with risers, lazy susans, and slide-out trays, focus on the containers themselves to maintain order and efficiency. Choose pantry containers that are stackable and offer clear visibility to maximize shelf space and declutter. Use air-tight pop-top containers for items like flour and sugar, making decanting easy and keeping contents fresh. Reserve open bins for snacks or infrequently used goods. Aim for a uniform look by limiting container styles to one or two per shelf. This simplifies restocking and replacement. Minimal labeling is needed with high visibility, but quick solutions like painter’s tape work for zone identification.
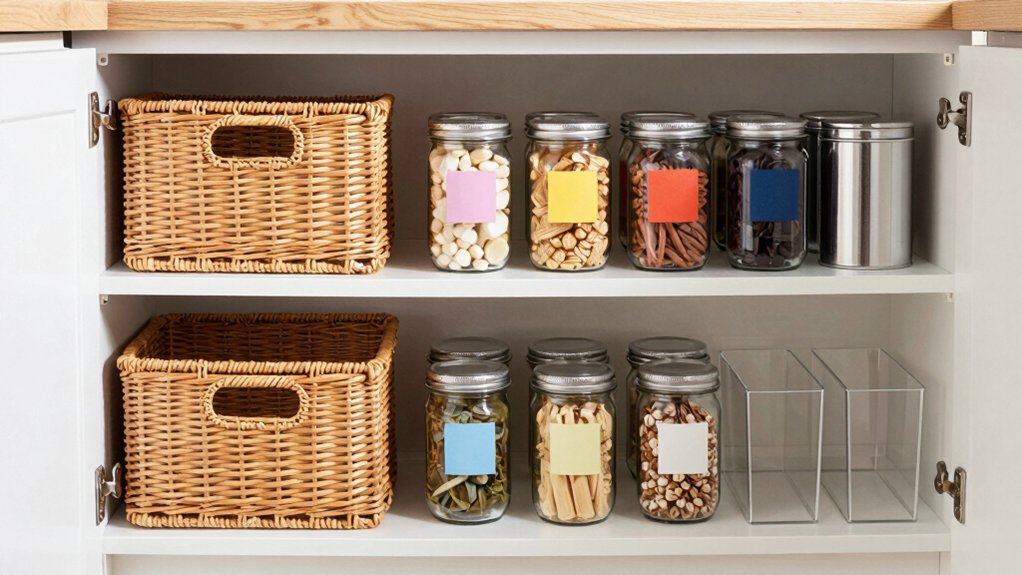
Label Only What Needs It: And Do It Simply
Where does labeling actually make a difference in your pantry? Focus on labeled zones and shelf fronts for effective pantry organization. Use labels only when they improve easy identification—like distinguishing brown sugar from white sugar. With clear storage and original packaging, labeling minimalism saves time and space. Containerization works best when you label only what’s necessary.
| Need for Labels | Example |
|---|---|
| High | Similar flours, sugars |
| Low | Unopened pasta, canned goods |
Skip excess labels; prioritize space-saving clarity. Painter’s tape and a marker work fine—label makers suit stable setups.
Make Tidying Your Pantry Effortless
You can keep your pantry tidy with clear zones, smart labeling, and simple daily habits. Group items by type—like snacks, baking supplies, or canned goods—so everything has a clear home and is easy to find. Stick to quick routines, like returning items to labeled spots right after use, so upkeep takes less than a minute each day.
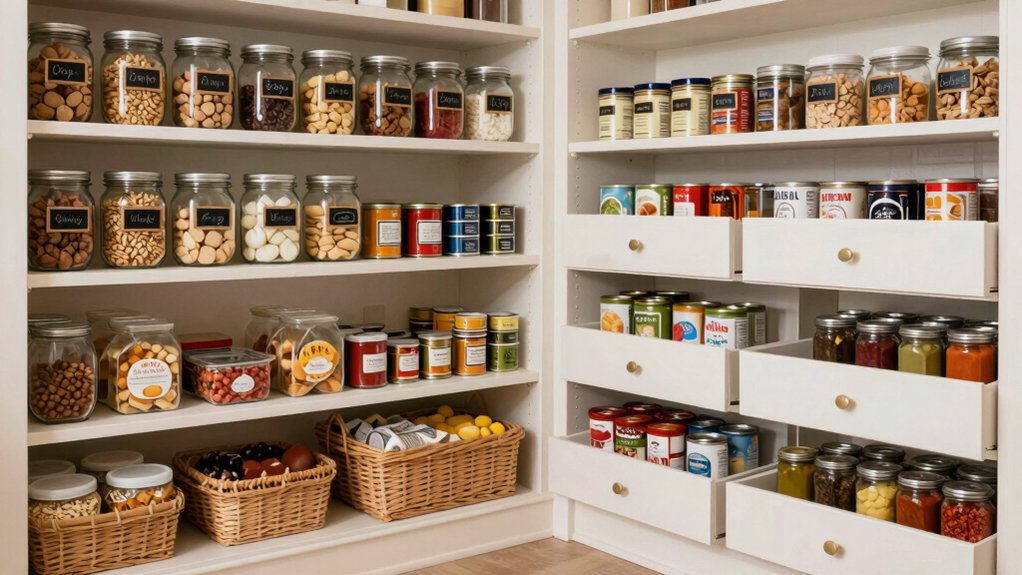
Clear Zones For Easy Access
Why do some pantries stay organized while others descend into chaos? You can maintain order by creating clear pantry zones. Assign areas for snacks, baking, drinks, and condiments, ensuring eye-level accessibility for daily items. Use risers on deep shelves to reveal hidden products and boost visibility. Store goods in labeled bins and container organizers—bins with handles make grabbing easy. Transfer staples to glass jars for freshness and uniformity. Include a misc zone for seasonal or occasional items to avoid clutter.
- Designate specific pantry zones
- Use risers for deep shelves
- Store in labeled bins with handles
- Add container organizers and glass jars
Label Smart, Not Hard
Clear zones set the foundation for a functional pantry, but labels keep the system running smoothly with minimal effort. Labeling isn’t always necessary if items are in original packaging or inside clear bins, but it’s essential for quick identification when storing similar items like flours or sugars in identical storage containers. Use painter’s tape and a permanent marker for a budget-friendly labeling method, or invest in a label maker for durability. Label zones and shelf fronts to support consistent pantry organization, especially with shelf risers or deep shelves. Place labels on the front of containers so contents are visible at a glance. Update labels during routine checks to maintain accuracy and ease.
Maintain With Daily Habits
How much time do you spend searching for ingredients or discarding expired goods? Boost your pantry organization with simple daily habits. Practice zone maintenance by returning items to labeled spots immediately after use. Use eye-level storage for frequently accessed goods, and add shelf risers or clear baskets to streamline space optimization. Always face items forward and check expiration dates during quick daily scans. Weekly rotation keeps your system fresh and functional.
- Wipe shelves weekly
- Return items to designated zones
- Prioritize eye-level storage
- Discard expired goods promptly
Consistent labeling and rotation reduce clutter and effort.
Conclusion
You’ve streamlined your pantry in five practical steps. Group similar items into designated zones—canned goods, snacks, baking supplies—for quick access. Use risers to double vertical space and lazy susans for corner shelves. Opt for airtight, uniform containers that fit your shelf dimensions. Label only necessities with simple, readable tags. These changes cut clutter and save time, making daily meals easier. A well-organized pantry lasts with minimal upkeep.
